
4 min read ·
Colored Shrink Tubing: A Practical Selection and Color-Coding Guide
Choose colored heat-shrink tubing by diameter, wall type, temperature and approvals first—then use color as a documented circuit identifier.
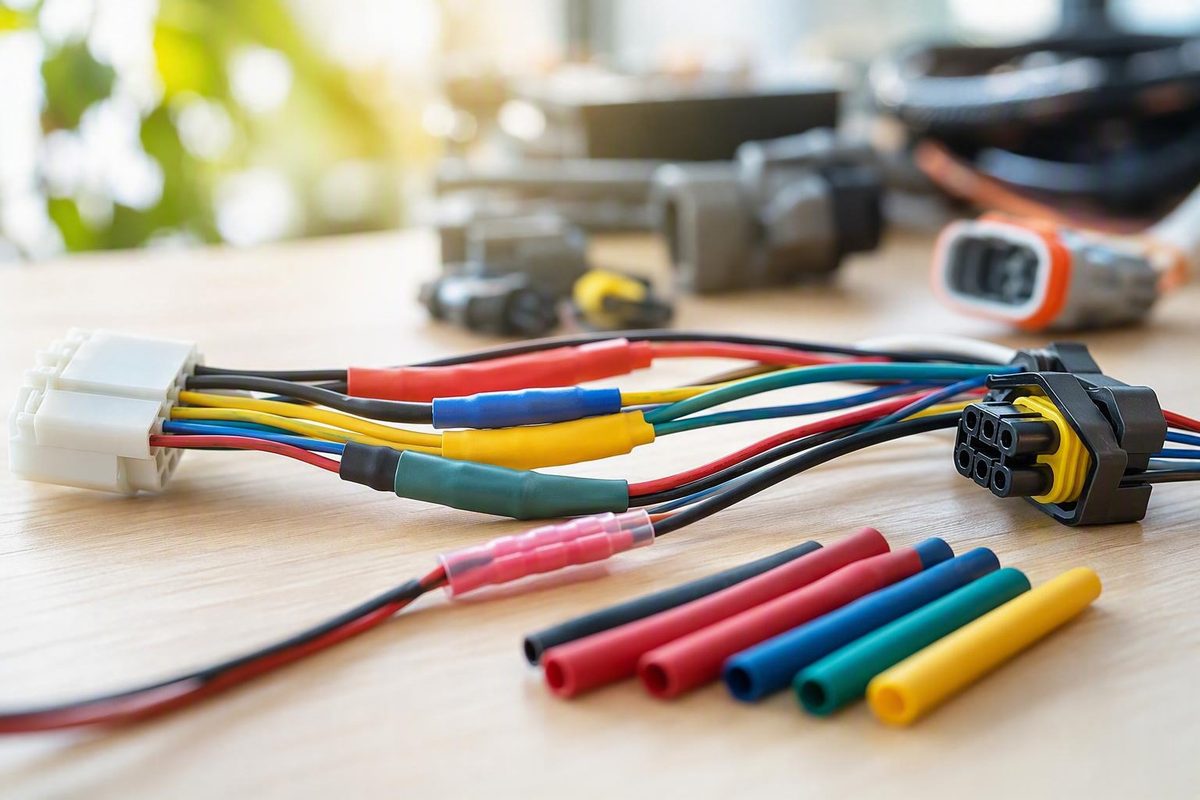
Colored shrink tubing can identify a circuit, but color does not determine whether the tubing fits, seals or survives the environment. Select the expanded and recovered diameters, wall construction, material, temperature range and required approvals first. Then choose a color and record what it means in that harness.
What each color should mean
There is no reason to discard familiar conventions, but do not treat them as test results. A practical project legend might be:
| Color | Useful project-defined role | Important caution |
|---|---|---|
| Red | Battery-positive or unfused/fused positive feed | Verify voltage and polarity before touching the circuit |
| Black | Ground/return or general-purpose protection | Black is also widely sold as ordinary tubing, so it may carry no circuit meaning |
| Yellow, blue or green | Switched outputs, lighting branches, sensors or other circuit groups | Define the meaning for the particular vehicle or trailer |
| White or yellow | Handwritten or machine-printed identification | Confirm that the marking method is compatible with the tubing |
| Clear | Protect an existing wire number or label while keeping it visible | Clear can have different approvals from opaque colors |
Use colored tubing as a secondary identifier, not proof of circuit function. This is especially important when repairing an unfamiliar harness: factory wire colors can vary, and a loaded voltage test is more useful than continuity alone. Label both ends of a long run and keep the legend near the fuse or distribution panel.
For a dense harness, printed marker sleeves are more specific than color alone. TE sells printable heat-shrink identification products in different grades, including commercial, fluid-resistant, high-temperature and UV-resistant types; that range illustrates why the performance grade still has to be specified separately from the color (TE Connectivity).
Select the tubing in this order
1. Decide whether the job needs identification, insulation or sealing
Single-wall tubing is suitable when the primary task is identification, electrical insulation, bundling or abrasion protection. Adhesive-lined tubing adds a meltable inner layer for environmental sealing and added mechanical support. Heat-shrink tubing as a category can provide insulation, mechanical protection, sealing and strain relief, but the exact combination depends on the product family (TE Connectivity).
For an automotive or trailer splice exposed to spray, choose adhesive-lined tubing whose datasheet names that use. For example, 3M’s EPS-300 is a 3:1 adhesive-lined polyolefin tube intended to protect automotive, truck and marine splices and harness breakouts; its adhesive cools into a flexible, water-resistant barrier (3M EPS-300 datasheet). Plain single-wall tubing should not be assumed to make a watertight splice.
Heat shrink is the covering, not the electrical joint. Make the correct crimp or other specified termination first. For sealed connector contacts, follow the connector manufacturer’s assembly process; see the Deutsch DT connector guide for one example.
2. Measure two diameters
Measure:
- The largest part the unshrunk tube must pass over—often a terminal barrel, splice or connector feature.
- The diameter the tube must grip after shrinking—usually the wire insulation or finished splice body.
The manufacturer’s minimum expanded inside diameter must exceed the first measurement. Its maximum recovered inside diameter must be below the second, while leaving some unused recovery rather than taking the tube to its limit.
TE’s sizing guidance recommends that tubing shrink by at least 20% from its supplied size while retaining at least 10% unresolved recovery. It also warns that tubing changes length during recovery, so the cut length must account for the product’s longitudinal-change specification (TE sizing guide). Do not select tubing from a nominal label such as “1/4 inch” alone; compare the datasheet’s expanded and recovered dimensions.
A 2:1 ratio is often enough for a fairly uniform wire or splice. A 3:1 or 4:1 product can pass over a larger terminal and still recover around a smaller cable, but shrink ratio does not substitute for checking the actual diameters.
3. Check ratings for the specific color and part number
Color is not a material specification. Confirm, as applicable:
- continuous operating-temperature range;
- minimum recovery temperature;
- voltage and flammability recognition;
- resistance to oil, fuel, chemicals, abrasion, sunlight and moisture;
- recovered wall thickness;
- adhesive compatibility with the wire jacket or connector material.
Do not assume every color in a product family carries identical approvals. As one concrete example, 3M lists FP-301 as 2:1 flexible polyolefin available in black, blue, green, red, transparent, white and yellow, but explicitly says the clear version is not flame retardant (3M FP-301). Verify the datasheet and certification for the exact color and catalog number being installed.
Install it without damaging the splice
- Disconnect power and slide the tubing onto the wire before making a termination that it cannot pass over.
- Cut the ends square and smooth. Leave enough length to cover the joint and overlap sound insulation on both sides, accounting for the listed longitudinal change.
- Center the tubing over a clean, dry assembly.
- Use a controlled heat gun at the product’s specified recovery temperature. Move the heat around the circumference rather than holding it on one spot.
- Start near the center and work toward each end so air is not trapped. Stop when the tube has recovered uniformly and, for an adhesive-lined product, the liner has flowed as its instructions require.
- Let the assembly cool before bending or pulling it, then inspect for splits, exposed conductor, sharp-edge damage and incomplete recovery.
HellermannTyton specifically recommends beginning in the middle and progressing toward the ends, notes that rough cut edges can initiate splitting, and advises ventilation, gloves and safety glasses during shrinking (HellermannTyton).
The finished result should provide two separate things: a mechanically appropriate covering and an unambiguous identifier. A bright color can help find a circuit later, but only the documented pinout and electrical test establish what that circuit actually does.