
4 min read ·
Choose a Battery Cable Crimper by Lug Compatibility, Not Tonnage
Compare hydraulic, lever and hammer battery cable crimpers, match dies to lugs and conductor type, and inspect the connection before sealing.
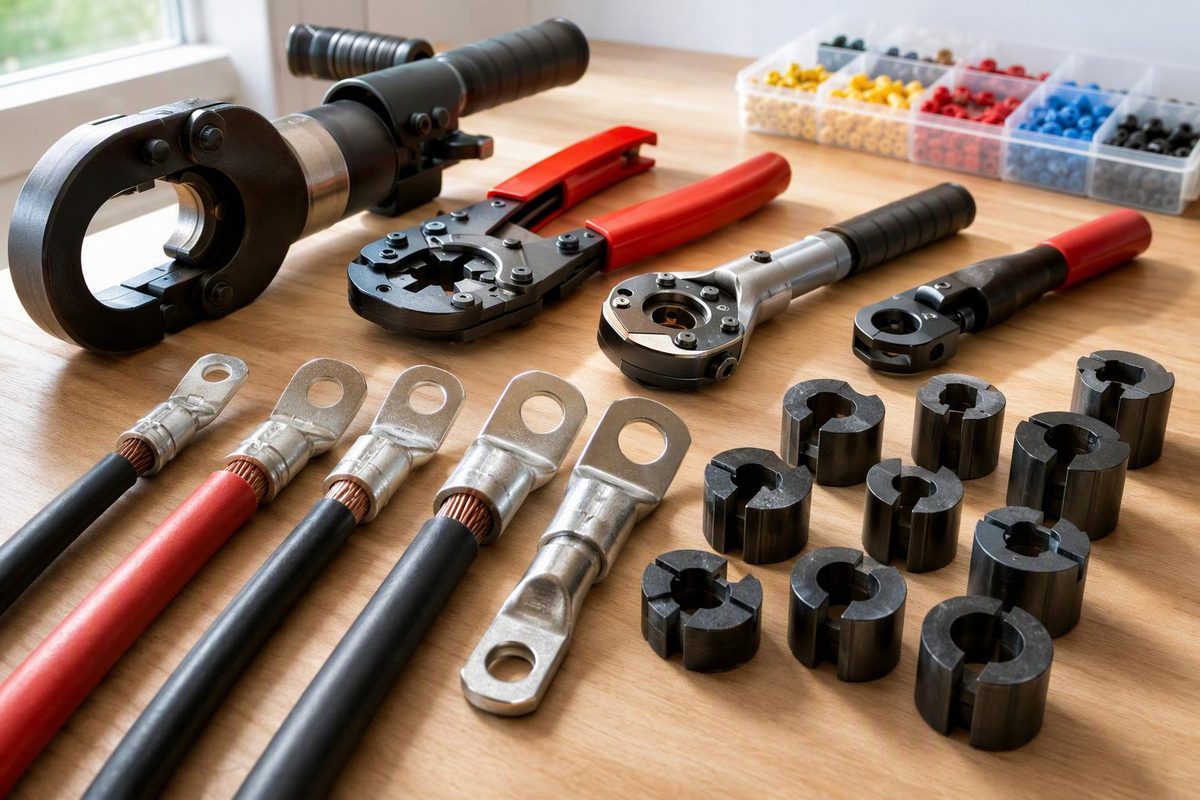
Choose a battery cable crimper specified for your lug and conductor. For large cable lugs, that may be a hydraulic crimper with matched dies or a compatible lever-operated tool. Cable size, conductor construction and the lug manufacturer’s tooling instructions matter more than advertised tonnage alone.
The connection is a matched system: cable + lug + tool + die or adjustment + installation procedure. BURNDY’s installation instructions explicitly specify wire material, strand class, size, connector, tool and die as parts of a qualified connection. A tool that can physically crush the barrel is not necessarily the right tool for it. BURNDY crimp instructions
This guide covers crimp-on battery terminals and cable lugs. For removable battery-connector contacts, use the contact-specific tooling guidance in Battery and Cable Connectors.
Which type of crimper should you choose?
| Tool type | Useful when | Check before buying |
|---|---|---|
| Hand-pumped hydraulic crimper with dies | Making large starter, ground or inverter cables; working across several cable sizes | Approved lug/profile combination, included die sizes and completion procedure |
| Lever-operated crimper | Making occasional cables with a compatible fixed-die, rotating-die or adjustable system | Cable range, handle clearance and required die selection or depth adjustment |
| Hammer indent crimper | Occasional bench work where the lug/tool instructions permit it | Correct positioning, adjustment and inspection; the result depends on striking technique |
| Battery-powered or bench production crimper | Making cables repeatedly | Manufacturer-approved tooling system, maintenance and cycle verification |
Hydraulic tools reduce the manual effort needed for thicker conductors. Hammer tools are inexpensive and compact, but less controlled and more technique-dependent. Neither a hex shape nor an indent shape establishes quality by itself: the profile must suit the lug and conductor. TEMCo tool-selection guide, Battle Born battery-cable guidance
For a one-off cable replacement, compare the cost of tooling with a correctly specified pre-crimped or custom cable. Provide the supplier with cable gauge, length, insulation requirements, stud-hole sizes and lug orientation.
Match these details before ordering
1. Cable size and construction. Read the cable marking or specification. Confirm copper versus aluminum and the conductor’s strand construction. Fine-strand flexible cable is not automatically compatible with a lug intended for coarse-strand building wire. BURNDY, for example, distinguishes its code-wire and flex-wire connectors by the conductor classes they accept. BURNDY crimp instructions
2. Lug barrel and stud hole. The barrel must accept the specified cable; the palm and hole must fit the connection point. “2/0 lug” describes the cable side, not the stud-hole size. Check both. Do not remove strands to squeeze a cable into an undersized barrel. Battle Born lug-selection guidance
3. Exact tool and die compatibility. Look for a tool/die chart or installation sheet for the lug part number. Where specified, match the die index and color code as well as conductor size. Do not assume an AWG marking, a similar metric marking or a matching color makes dies interchangeable between systems. If the supplier cannot provide installation instructions, choose a documented lug/tool combination rather than guessing.
4. Crimp count, location and completion. A long barrel may require more than one crimp, but there is no universal “two crimps” rule. Follow the prescribed locations, sequence and tool completion signal. BURNDY’s medium/large HYDENT instructions, for instance, direct installers to check crimp count and placement and recommend against rotating or alternating crimps for those products. BURNDY installation procedure
Two published tool ranges—and their limits
As of September 30, 2026, TEMCo lists its TH0006 V2.0 hydraulic hex crimper for 12 AWG through 2/0 AWG, with 18 die sets: nine standard sizes and nine “plus” sizes. Its listed range does not include 4/0 AWG. TEMCo also notes that stranding, lug wall thickness and fit affect die selection. The range alone does not establish compatibility with your lug. TH0006 specifications
Its TH0012 lever-operated dieless indent crimper is listed for 8 AWG through 4/0 AWG. “Dieless” means no interchangeable die sets; it still requires depth adjustment, which TEMCo says may differ from the marked scale according to terminal fit and wall thickness. TH0012 specifications
These are specification examples, not a tested ranking.
Make and inspect the connection before sealing
Work on an isolated, de-energized cable. Follow the vehicle or equipment manufacturer’s battery-disconnection procedure, account for auxiliary batteries and chargers, and keep conductive tools away from live battery terminals.
- Set length and orientation. Align both lug palms for their mounting points before crimping; thick cable may not readily twist into position afterward. If the heat-shrink tubing will not pass over the finished lug, slide it onto the cable first and keep it clear of the crimp area.
- Prepare the conductor. Cut cleanly and strip to the lug’s specified length without nicking strands. Insert every strand fully, using an inspection window if provided.
- Crimp as specified. Use the approved dies or adjustment, maintain full insertion and complete every required crimp cycle. Do not substitute pliers or vise grips for a lug crimper.
- Inspect the uncovered barrel. Verify crimp count, placement and any specified die imprint or post-crimp dimensions. Check for cracks, unexpected sharp wings, stray strands and cable movement inside the lug.
A hand tug is a useful gross check, not proof of electrical quality. A poor connection can remain mechanically attached yet have excessive resistance. Inspect before covering it, and investigate abnormal heating or voltage drop under load after installation. Battle Born inspection guidance
Apply appropriately rated adhesive-lined heat shrink where moisture protection is needed, leaving the lug’s contact surface clear. Support the cable so its weight and vibration do not load the terminal. Heat shrink protects a sound crimp; it does not repair a loose or cracked one. Battle Born sealing and support guidance For tubing selection, see Choose Heat Shrink by Fit and Rating.